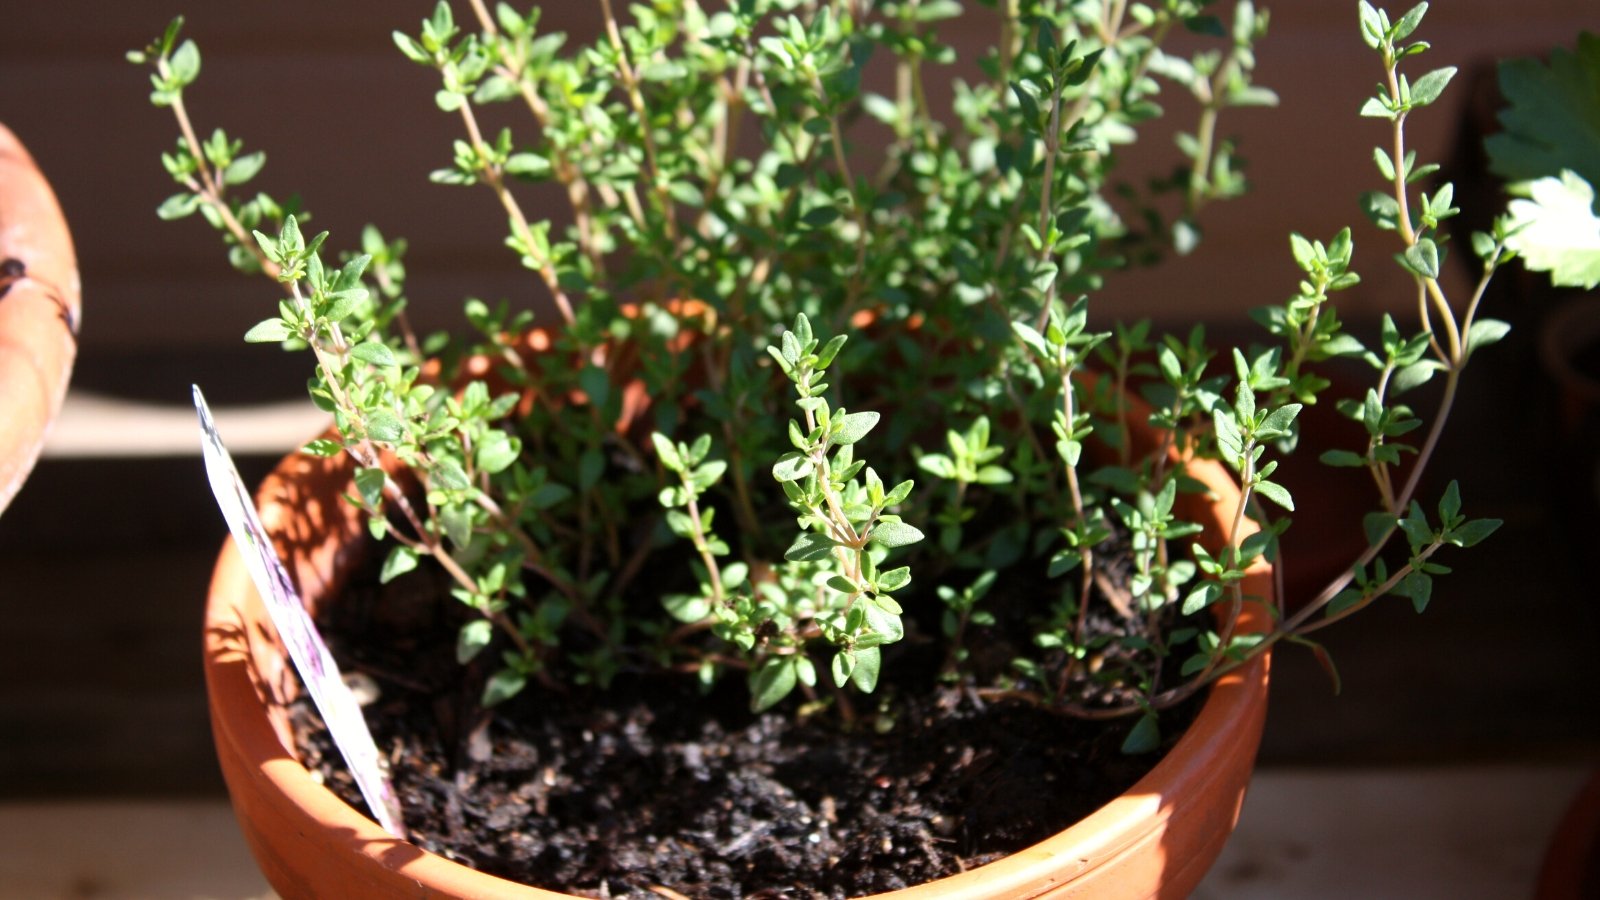
Cress is a popular microgreen due to how easy it is to grow and the fact that it’s one of the most nutrient-dense greens out there. It even beats the Almighty Kale in terms of nutrient density according to the USDA.
The peppery taste and unique leaf structure make it a chef favorite, used in soups, salads, and garnishes. For the home cook, cress is great for juicing, smoothies, or as an addition to a salad mix to add some extra spice.
Cress Microgreens Quick Info
- Flavor – Bold and peppery, slightly bitter with a touch of sweetness.
- Soak – No
- Rinse / Drain – No
- Germination – 3-4 days
- Harvest – 8-12 days
I’ve filmed a full video on growing cress microgreens that you can view below, or follow the step-by-step guide in this post. Enjoy!
Materials

Everything you need to grow cress microgreens.
To grow cress microgreens, you don’t need much. The only thing in the picture above that I didn’t list below is an old seasoning shaker, which I use to get an even distribution of seeds. You can use your fingers or a glass and get pretty good results too though.
- Container (I use 10×20 plant growing trays)
- Potting soil (I use a 50/50 mix of organic potting soil and coconut coir)
- Light (I use a 4′ T5 CFL grow light if growing indoors)
- Seeds (I buy mine from Everwilde Farms)
- Spray bottle
Planting

Unlike many greens, cress seeds are mucilaginous. This means that they’ll take in water and form a mucus membrane around their hulls, so they don’t need as much water when germinating as other seeds. Spray them very lightly, and make sure your soil mixture isn’t too moist. You’ll have low germination rates if you use too much water.
After distributing seeds evenly (use 1oz if planting in a 10×20 tray), cover with a blackout dome and mist more often, but with less mist per application.
Growing

After 3-4 days, your cress seeds will be sprouted and will be ready for some light. Make sure you continue to water, but do not overwater your cress. You’ll get mold and potentially drown out the fragile root systems, leading to either rot or just a poor yield!
If possible, water from the corners of your containers instead of overhead. This protects your microgreens from damage or being bent in odd ways. Also, the center of your container typically retains water better and needs less water than the sides.
If you’re growing cress to the microgreen stage, it’ll take about 8 days. If growing to the true leaf stage, it’ll take around 2 weeks. It’s up to you – there’s a visual, yield, and flavor difference, so try both and see which you prefer!
Harvesting

When harvesting, make sure to use an exceptionally sharp knife (like this one). You want a clean cut with no ripping or pulling, that way you won’t pull up any soil or seed husks. The simple rule to follow when harvesting is: harvest in a way that avoids the need to wash your greens.
Washing microgreens is not only a big time suck, but also cuts their shelf life by about 50%. There are special circumstances where you will need to wash, but my default is to avoid when possible. I do this by growing in a clean, safe way and minimizing debris with my harvesting technique.
For cress, you’ll want to harvest around the 8-12 day mark. Make sure your greens are as dry as possible when harvesting – ideally bone dry, as any moisture on them when storing is conducive to mold and rot. If they’re a bit moist, lay them out on a drying rack or towel until dry.
To store, put them in a sealed glass or plastic container, or use a produce storage bag. Then place them in the refrigerator. You’re all set – they should last for about a week or so, but the sooner you use them, the better!


